Overview
In version 4.4.1, CIMcloud released a standardized method to sync data between Shopify and CIMcloud. We currently support the following data syncing between these two systems in our core product:
- Orders from Shopify to CIMcloud to your ERP system
- Shipments from your ERP system to CIMcloud to Shopify
- Inventory Levels from your ERP system to CIMcloud to Shopify
In this article, we’ll cover the following:
- Shopify integration steps
- Prerequisites to sync data
- Creating an app in Shopify
- How the service works
- Monitoring
- Scheduling
- Customizations
- Data Mapping
- Future updates
Shopify Integration Steps
Data Sync Prerequisites
- For Orders:
- If syncing orders from Shopify to CIMcloud, please send the default values:
- Payment Terms
- Salesperson Number
- Customer Division
- Customer Number
- Order Status / Hold Code (if applicable)
- Order Type
- Print Pick Sheet / Print Sales Order values
- Tax Schedule
- Ship Via Code
- Or, you can follow the “Setting Up Shopify Shipping Methods in the Worker Portal” section to match Shopify Shipping Methods to Ship Vias in Sage
- Orders will fail to import if:
- The Shopify SKU is not populated
- The Shopify SKU does not exist in Item Maintenance within your ERP
- The Shopify Shipping Method is not setup in your Worker Portal, or the default Ship Via does not exist in Sage
- See the “Setting Up Shopify Shipping Methods in the Worker Portal” section below to setup
- If syncing orders from Shopify to CIMcloud, please send the default values:
- For Inventory and Shipments syncing from your ERP (and CIMcloud) to Shopify:
- SKUs in Shopify must match the ItemCode/SKU in your ERP/CIMcloud. Otherwise, we will be unable to match the item between these systems
- Warehouse locations in Shopify must be setup before syncing either Inventory or Shipments
- The location name in Shopify must match the Warehouse name in your ERP/CIMcloud. Otherwise, we will be unable to update inventory levels
- Partial Shipments in your ERP are not supported in the sync to Shopify
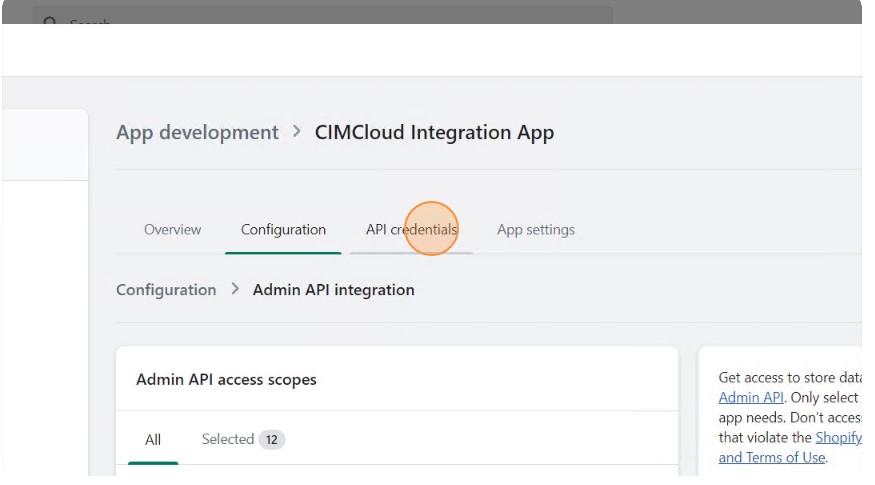
Creating your app in Shopify
To sync data between Shopify and CIMcloud, you’ll need to create an App within your Shopify store. Below are the steps to create an App and send us the credentials needed to sync data:
-
- Login to your Shopify Store
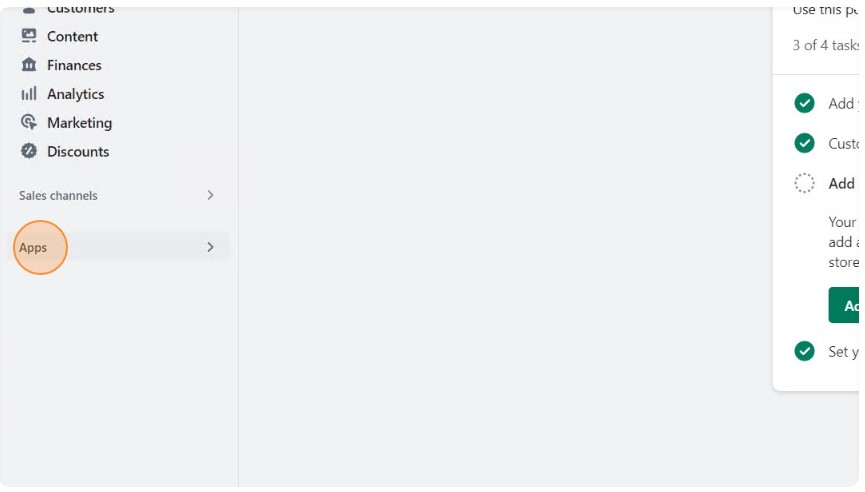
- Click “Apps” on the left side
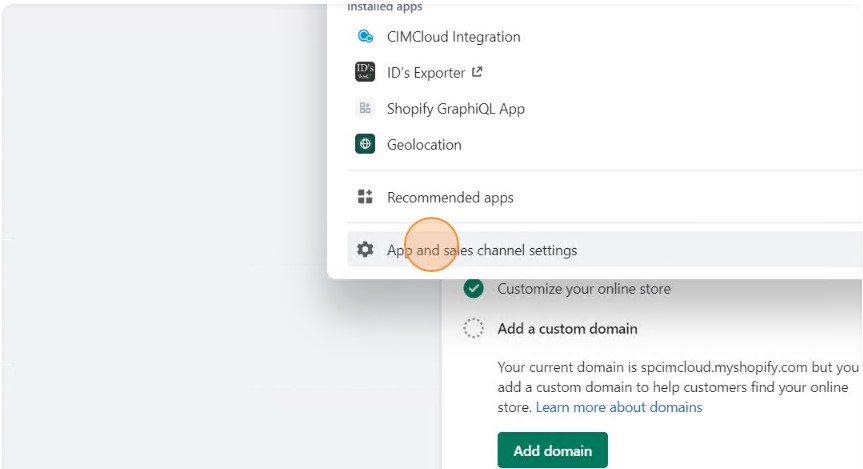
- Click “App and sales channel settings”
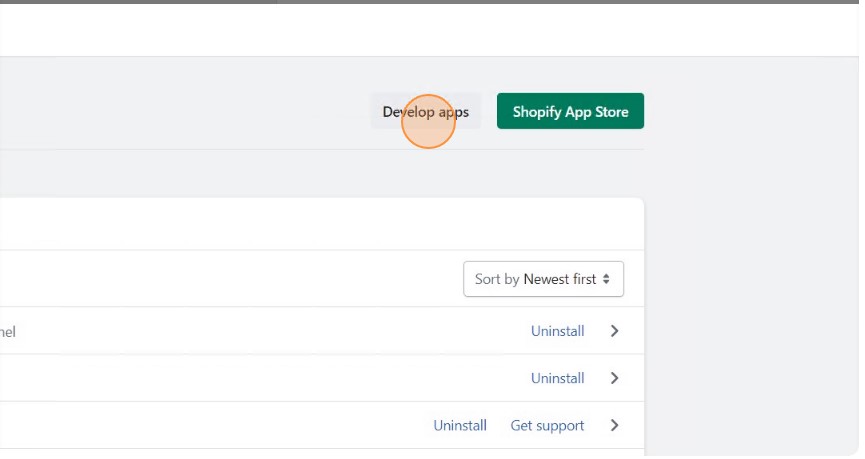
- Click “Develop apps” in the top right of the modal
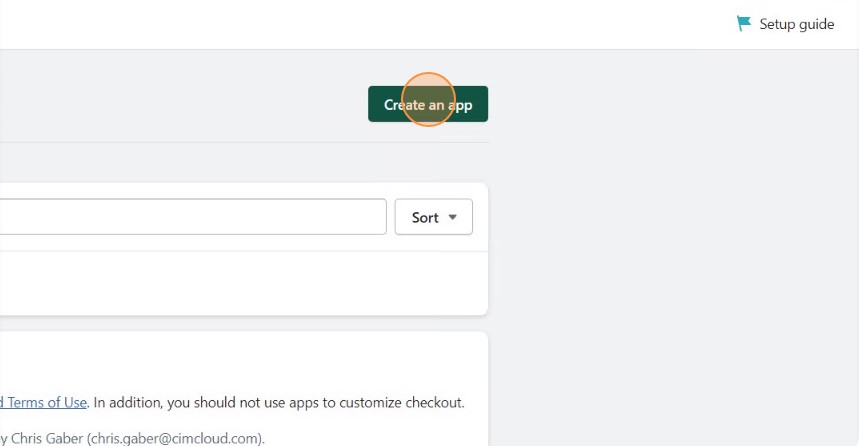
- Click “Create an app”
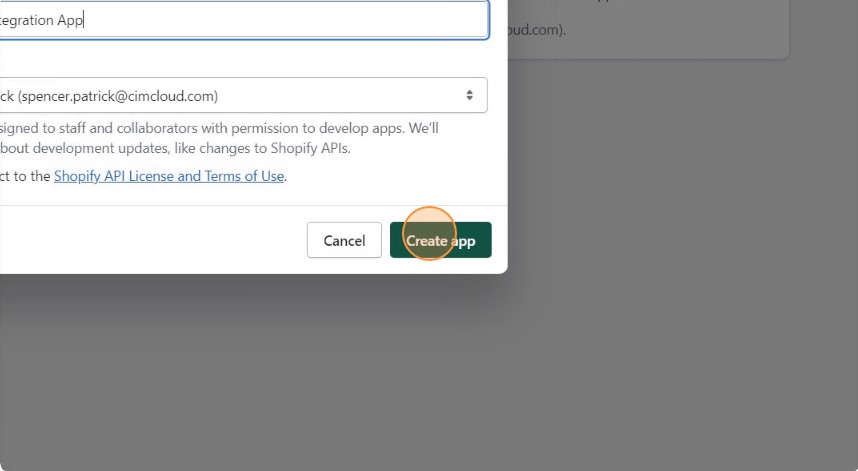
- In the App Name field enter “CIMCloud Integration App” and click “Create App”
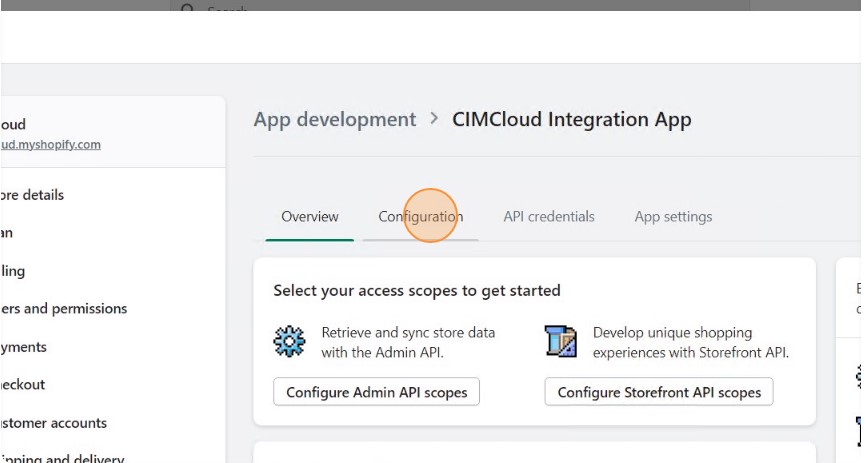
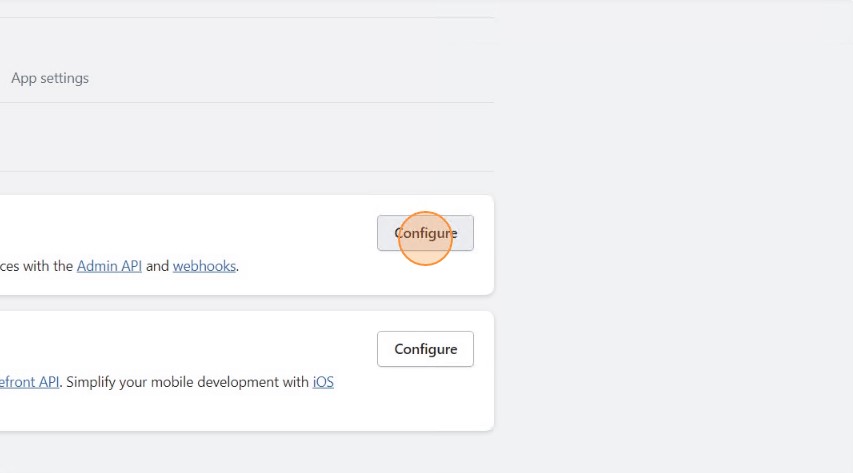
- Click “Configuration” and select Configure next to “Admin API integration”.
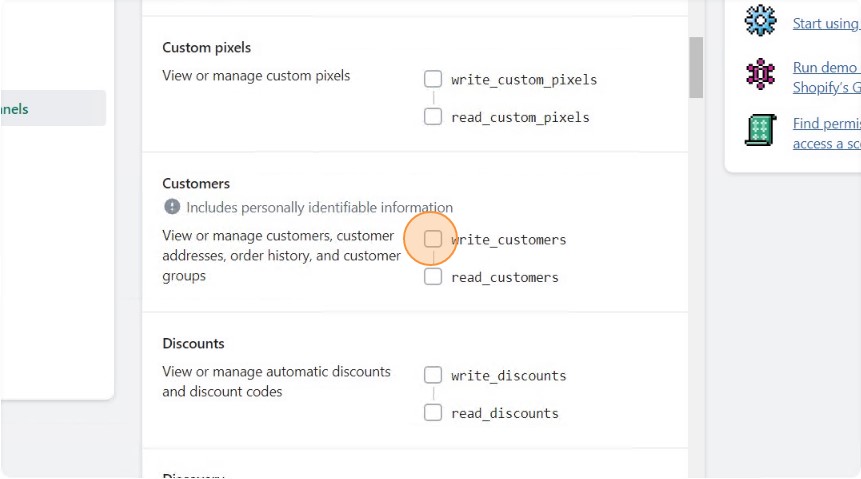
- Grant the appropriate scopes by clicking the following. Clicking on these will also enable the read scope, we need access to both:
- write_customers
- write_fulfillments
- write_
assigned_ fulfillment_ orders - write_inventory
- write_locations
- write_orders
- write_products
- Once this is done, press “Save” and then hit “Install app”.
- Once it is installed, navigate to “API Credentials” and hit “Reveal Token Once”
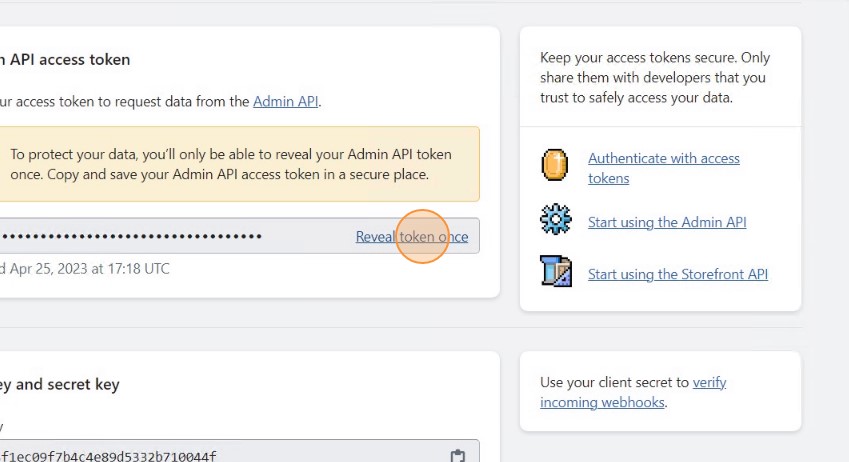
- Copy this revealed token and send to CIMcloud
- Note: This token cannot be recovered once you reveal it, but a token can be generated again. If a new one is generated, we will need to update it on our end.
How It Works
Monitoring Orders
- You can view the orders synced via the worker portal.
- Navigate to the tab “Pass Through Orders” in the worker portal
- From here, you can review orders synced from Shopify and their import status to Sage
- Clicking on an Order ID displays any errors when attempting to import into Sage
Scheduling
- Scheduled tasks, via Data Mover, send requests to Shopify’s API layer for the following:
- Every 5 minutes for Orders
- Every 5 minutes for Inventory
- Every 5 minutes for Shipments
Customizations
- Customizations on fields are allowed (to an extent). For example, meta data on orders can be added and pushed through to CIMcloud, and by extension, your ERP system.
- Note: This is a pro services engagement to modify mappings of fields between the data sync
Data Mapping
-
Tables with columns between Shopify and CimCloud
-
Orders (s_orders, s_order_details)
-
Shipments (external_order_shipments)
-
Inventory Levels (product_qty_in_stock)
-
Setting Up Shopify Shipping Methods in the Worker Portal
Sage requires a ship via code on orders, there are two options:
- Use a default ship via code for all orders importing to Sage from Shopify, or
- Manually set up Shopify Shipping Methods in the Worker Portal
To setup these shipping methods in the Worker Portal, follow the “Setting Up Shipping Method” section in this article, setting the following fields for each Shopify Shipping Method:
- Status -> Disabled
- This will disable the shipping method from use on the sitefront, or anywhere else
- Reference Id -> Prefix with “Shopify – “ + the Shopify Shipping Method Name
- This isn’t used in any logic, and is for internal purposes only
- Shipping Method name -> Shopify’s shipping method name
- Sales Order Code -> Sage’s Ship Via Code to use
- Pricing Calculation -> No
- This logic isn’t used, but helps distinguish what the shipping method is used for
- Rate and Filters -> Set all to No
- This logic isn’t used either
Future Updates
-
Better Logging
-
Self-service Shopify data sync interface
-
Self-service data mappings