This article provides an overview of the options for allowing visitors to create new accounts and new contacts for existing accounts. You can find these in the Customer Data tab of the application settings page under the settings workspace.
What a Customer Sees
The customer will see two new links in the sign in pop up.
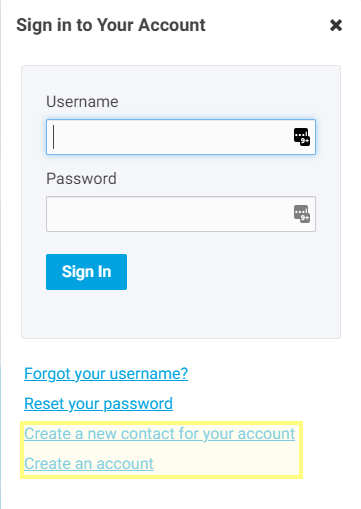
These links take the user to the appropriate form to either create a new contact, if they already have an account with you, or to create a new account. From here, based on your application’s configuration, the user will either get logged into the system or they will get a message letting them know their account was created.
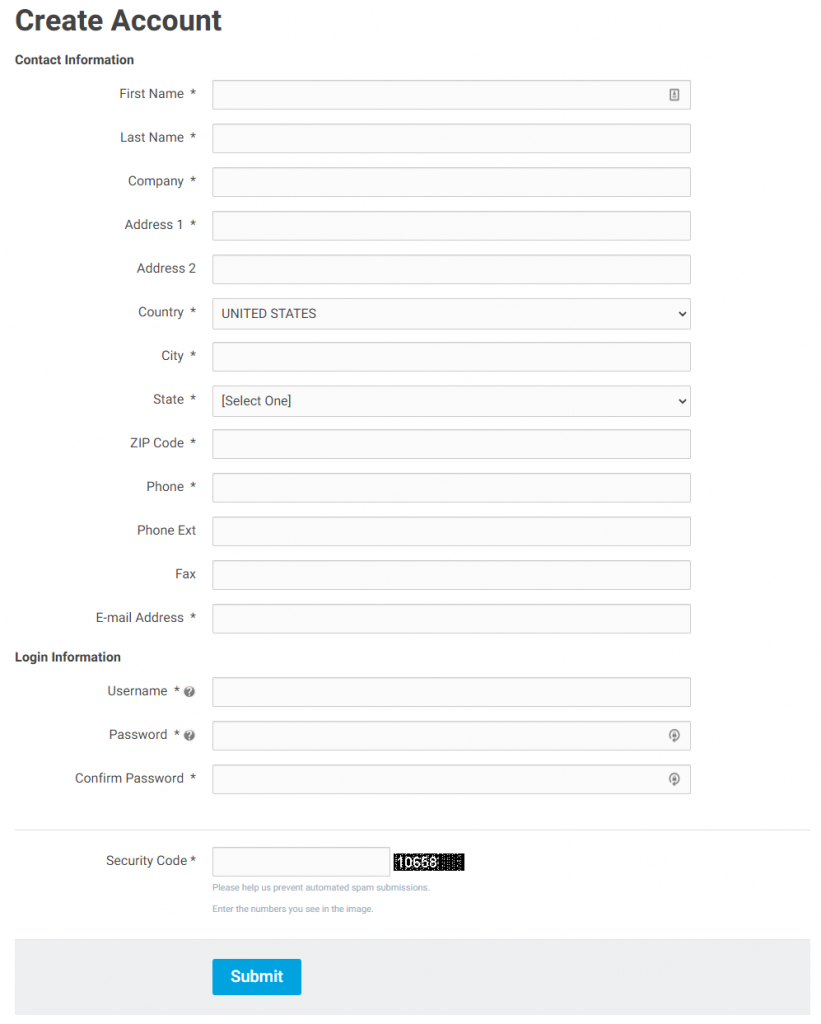
The Create an account link takes a user to the following form to fill out their account information.
While the Create a new contact for your account link takes a user to a form to validate their account before they create a username and password.
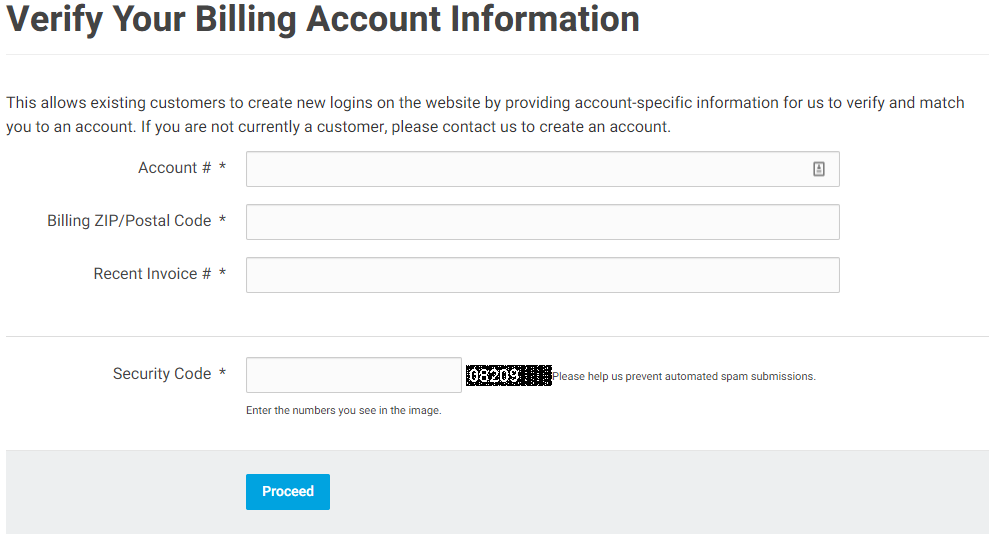
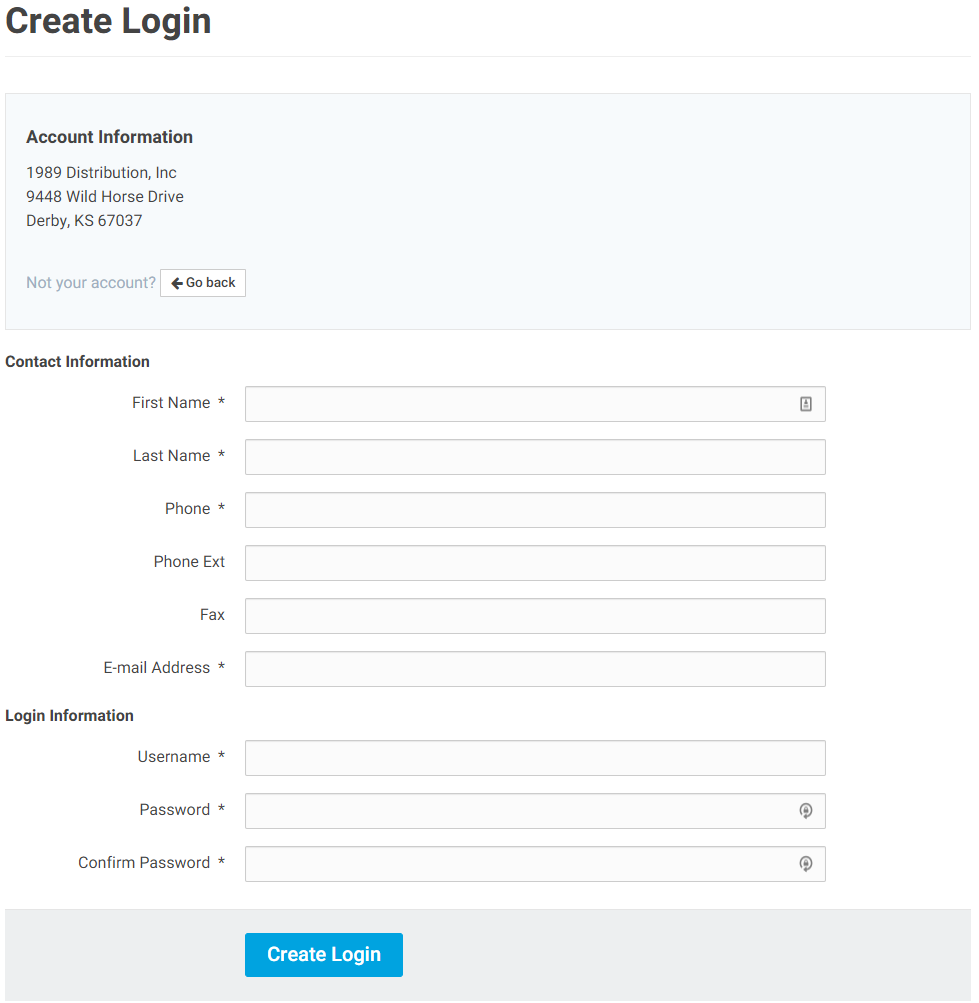
Here the user will be prompted to enter their account number, billing zip code, and a recent invoice number. Once entered the site will take the user to the create login form to enter their contact information and create a username and password. This page shows them their basic account information for them to verify before they create a contact/login.
What an Administrator Sees
Workers with access to the settings workspace have can manage the settings driving these features in the application settings page under the customer data tab on the left.
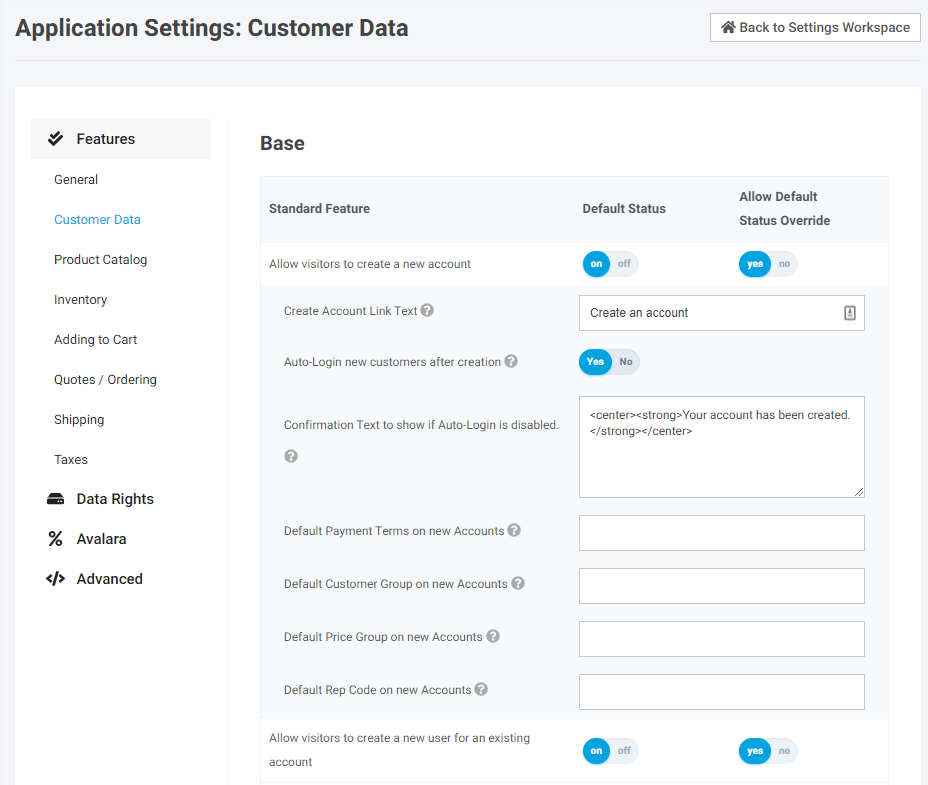
From here you can enable one or both of the links from the screenshot of the sign in popup in the What a Customers Sees section. The top feature, Allow Visitors to create a new account, has several options for you to configure. Here you can change the text that displays on the sign in form, choose if the customer has immediate access to the platform, and configure your platform’s defaults for the newly created accounts payment terms, customer groups, price group, and rep code. The second feature, Allow visitors to create a new user for an existing account, allows you to easily toggle the Create a new contact for your account link.
Typical Workflows
- Standard
- Allow users to create new accounts on the website. Users are immediately logged into the platform to start ordering. These new accounts sync into your ERP when the first web order is placed by a user on the account.
- Web approval
- Users create new accounts that are by default disabled and the user is not logged in. An email is sent to the customer and can be configured to send to you or someone else in your organization through the Email Settings link under the System Emails item in the Settings Workspace.
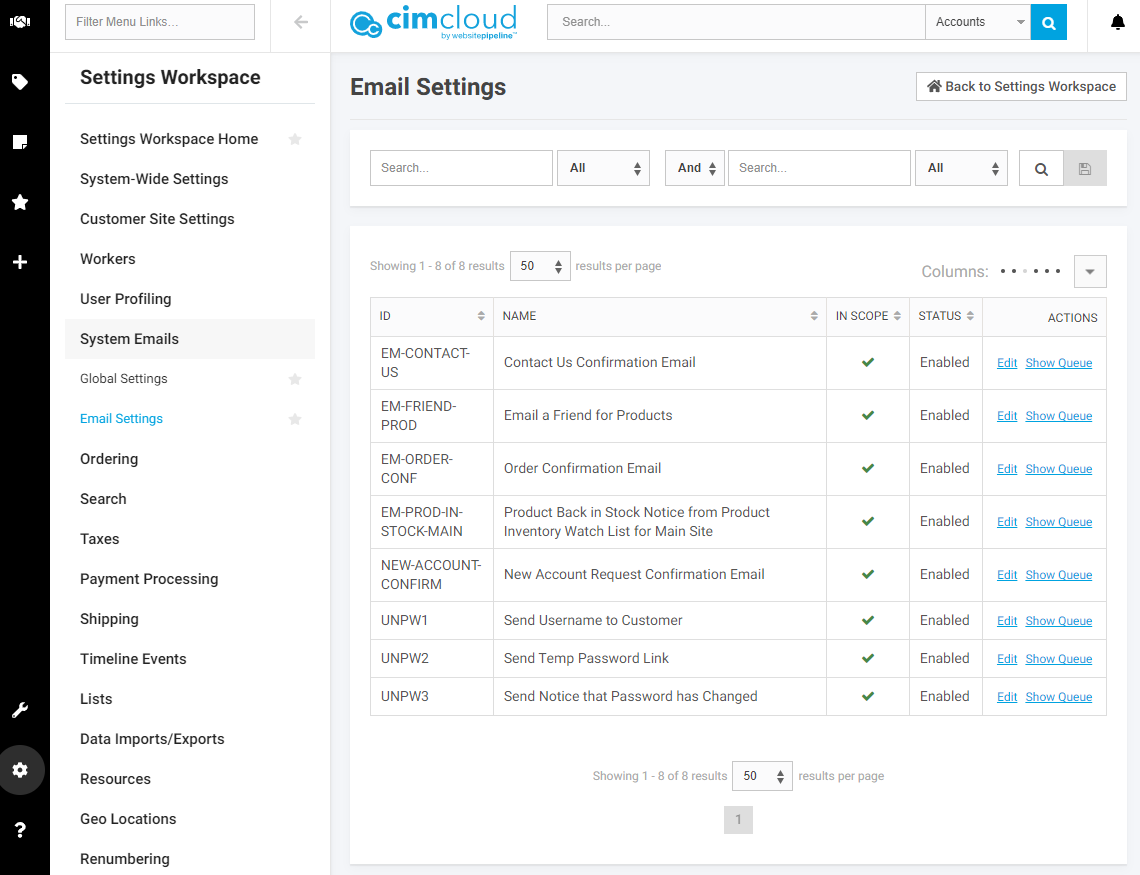
Image 6 – Email Settings Manage Page - Then go edit the email setting for New Account Request Confirmation Email, by adding the appropriate email address to the cc or bcc input. This will allow them to approve new accounts by manually enabling them in the CRM Workspace once they receive this email.
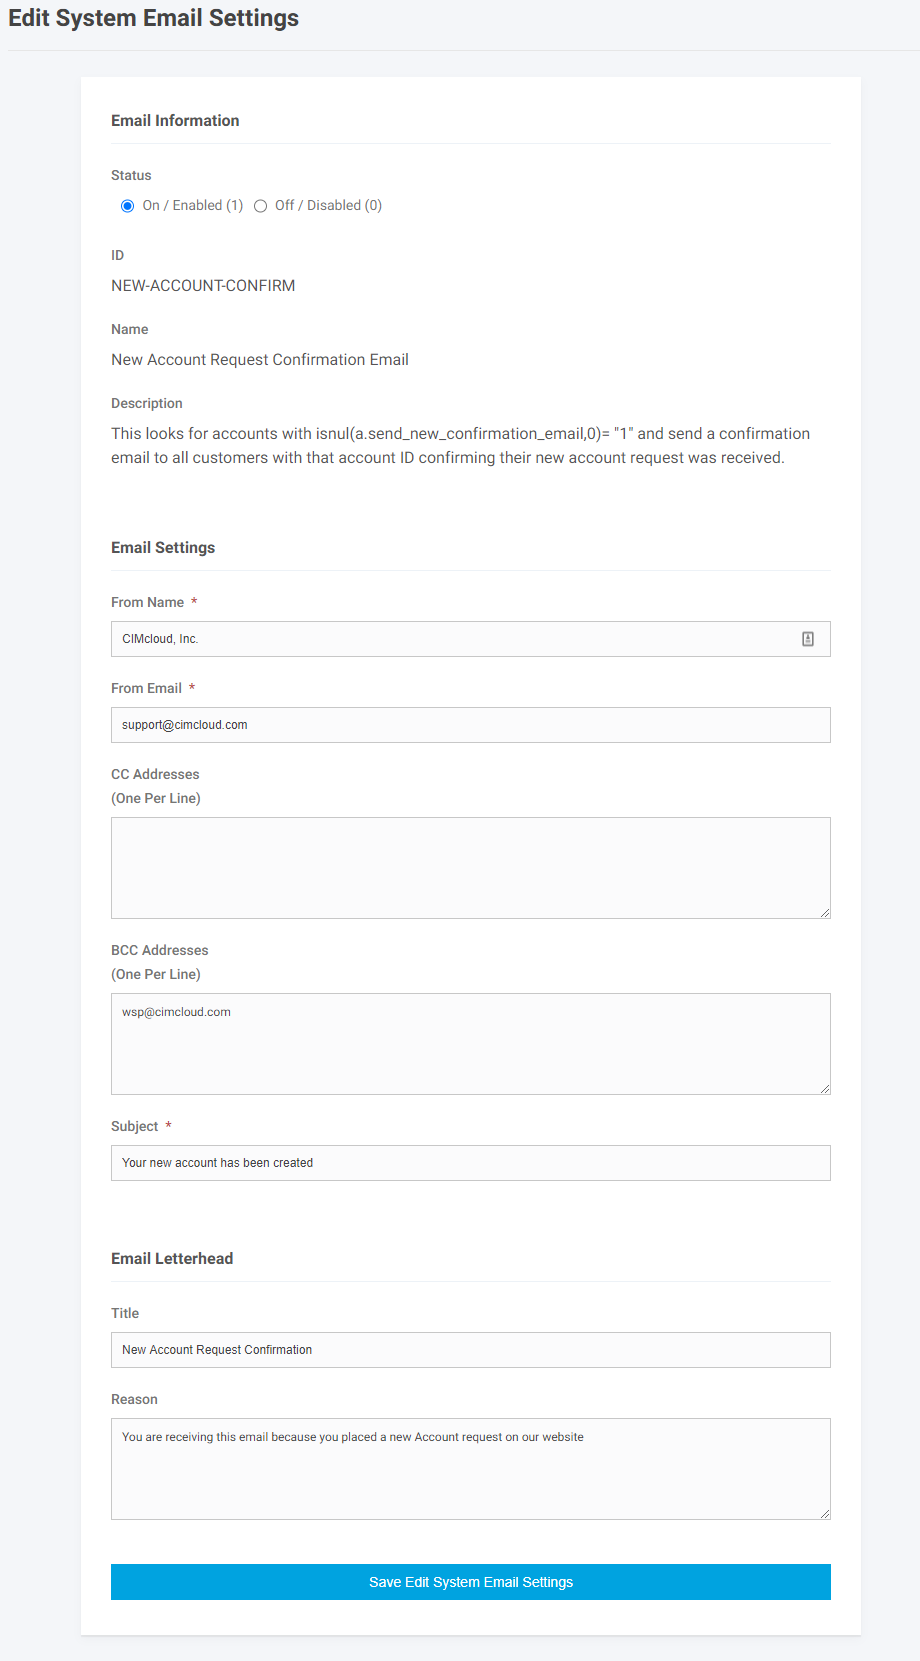
Image 7 – System Email Settings Edit Page - Once you receive the new account request email, see image 8 below, sign into the worker portal and search for the contact matching the username in the email.
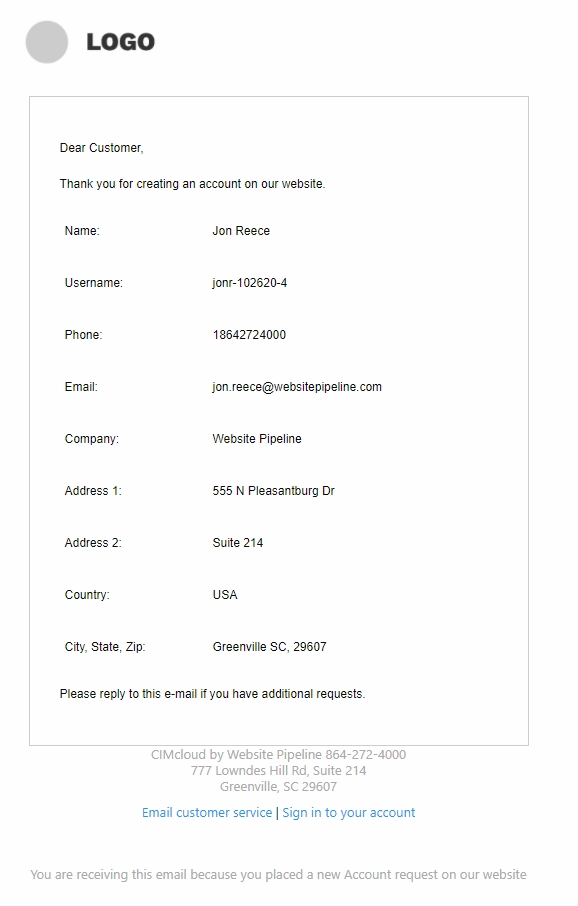
Image 8 – New Account Request Notification Email - From the manage contacts page, see image 9 below, click on the link in the account column (note the filters are open and the search is for both enabled and disabled contacts) .

Image 9 – Contacts Manage Page This will take you to the account dashboard where you will see an edit account button in the top right corner. Use this button to visit the account edit page, see image 10 below, and enable the account. Also verify that the contact record is also enabled.
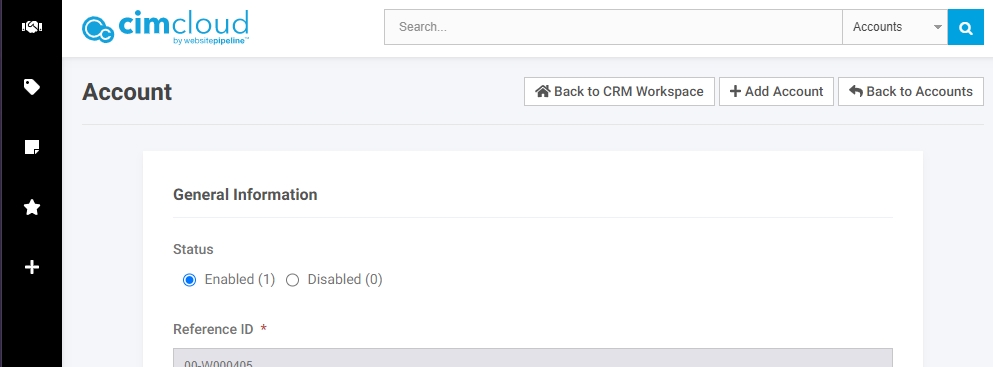
Image 10 – Account Edit Page - Manually send an email to the user letting them know their web account was approved and enabled.
- These accounts do not sync to your ERP until their first web order is placed.
- Users create new accounts that are by default disabled and the user is not logged in. An email is sent to the customer and can be configured to send to you or someone else in your organization through the Email Settings link under the System Emails item in the Settings Workspace.
- Web Approval With Manual Account Creation in ERP – This option allows you to maintain control over the customer numbers in your ERP system. By default the website uses a generic system with a letter prefix, the default is ‘W’, and a number based on a database integer that increments with each new account.
- Follow steps 1 and 2 of the Web Approval workflow
- When you receive the new account creation email create a new customer manually in your ERP system using whatever numbering convention you want.
- Once this new customer syncs to the CIMcloud platform visit the contact edit page for the user and update the mapped account to the new one you just created inside the ERP.
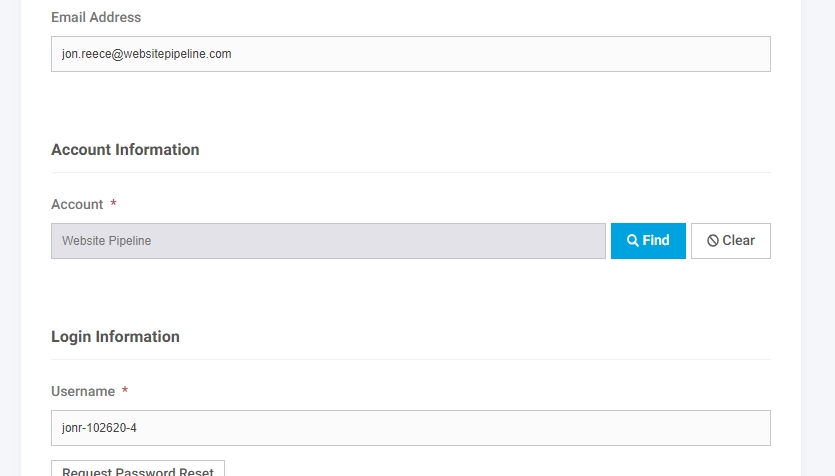
Image 11 – Contact Edit Page Mapped Account Input
- Web Approval with automatic sync – See Web Approval workflow steps 1 – 5 above. Once a worker enables the account a part of the sync process, which can be added to your platform with the purchase of an additional module, will push the new account into your ERP as a customer.